Last Updated on March 9, 2023
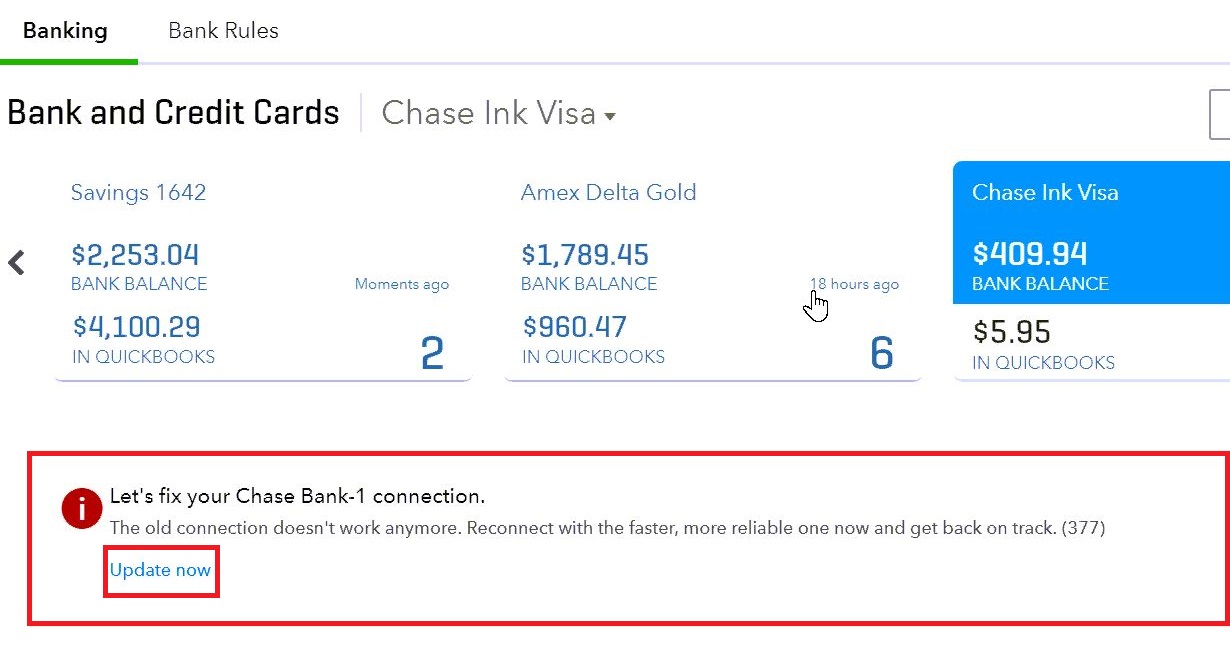
QuickBooks has recently updated its connections with various banks for improving efficiency and reliability of the services. Major Banks like Chase, Bank of America, Wells Fargo, Citi Bank, and Capital One have already accepted the new connection method QuickBooks is using to connect with them. If you have not reconnected your account in QuickBooks after this recent update, then you might encounter QuickBooks error 377 in your QuickBooks Online application. You need to click the Update Now button in the notification banner for establishing a new connection with your bank.
For any support regarding this update, you can get in touch with us at our Number 1.855.738.2784.
Update Bank Connection in QuickBooks:

You are required to link your bank account with QuickBooks before updating the connection. In case if you have already linked your account, then you have to follow the on screen instructions to resolve the issue or follow our article on Connecting your Bank Account with QuickBooks for help.
Using WebConnect to Download Transactions:
If your bank is still not using the new connections to connect with QuickBooks and you are facing issues while downloading transactions then you can use WebConnect for a temporary solution. Follow the steps mentioned below to download bank transactions using WebConnect:
- Using a supported browser like Mozilla, Chrome, or Internet Explorer on your computer log in to your online banking.
- Select Date Range and download the transaction file from your banking website in .QBO file format.
- Using browser login to your QuickBooks Online account and from the left side panel under the Banking tab click Banking.
- Click File Upload from Update drop down list.
- If you are connecting an account for the first time, then click Upload Transactions Manually.
- Click Browse and select the transaction file that you have downloaded from the banking website.
- Click Next and from QuickBooks Account drop down menu select the account on which you want to upload the data.
- You can add a new account by clicking Add New if no account is set up.
- Click the Gear icon and choose Import Data from under the Tools
- Now choose the Bank Data and click Next.
- Click Lets Go to finish the process.
While updating bank account transactions using WebConnect you might face multiple errors if each step is not performed carefully. Our QuickBooks Online experts fix such types of errors on a regular basis, so if you are facing any issues resolving this error or using WebConnect, then you can call our Accounting Helpline Number 1.855.738.2784 for quick assistance.

Edward Martin is a Technical Content Writer for our leading Accounting firm. He has over 10 years of experience in QuickBooks and Xero. He has also worked with Sage, FreshBooks, and many other software platforms. Edward’s passion for clarity, accuracy, and innovation is evident in his writing. He is well versed in how to simplify complex technical concepts and turn them into easy-to-understand content for our readers.
