Last Updated on January 29, 2025
Integrated application preferences in QuickBooks allow the admin to provide permission for another application to log in automatically. Basically, these preferences enable you to handle the rights allowed to a particular integrated application. But sometimes, you might face issues while linking a certain application or allowing it to use the QB company file. Other times, you might encounter certain error messages when integrating applications in QB. In this article, we will discuss all the issues related to QuickBooks integrated application preferences and solutions for managing preferences successfully.
Follow the guidance below to manage the integrated application preferences in QuickBooks. However, if you don’t have time to go through the article and self-resolve the issues, you can call our experts at 1.855.738.2784 for a faster alternative. Our team of specialists will help you resolve issues with the integrated application by providing thorough assistance.
Steps to Change or Modify QuickBooks Integrated Application Preferences in Windows 10
You can alter the QuickBooks integrated application preferences by going through the detailed steps below –
- Open the QB Desktop application, move to the File menu, and navigate to the Preferences section.
- Now, click Integrated Applications, select the required integrated app, and click on Company Preferences.
- Review and change the integrated application preferences for the app and ensure the “Do not allow any application to use this company file” option is unmarked.
Learn Steps to Install and Setup QuickBooks Web Connector Feature
QuickBooks uses Web Connector to set up and manage the connected apps; thus, it should be set up correctly. Before integrating QuickBooks with other applications, you must install and set the latest QBWC version using the process below –
Install QuickBooks Web Connector
Begin by installing the QuickBooks Web Connector using the detailed instructions mentioned below –
- Close QuickBooks Desktop completely, then go to the Intuit Developer site and download the latest QBWC version on your PC.
- Right-click the QBWebConnector2_R30_xxxxx zip file, click Extract All, then open the extracted folder and right-click the QBWebConnectorInstaller.exe file.
- In addition, go to Run as Administrator, go through all the instructions regarding the installation process, and click on Allow devices to make changes to your computer.
- Select Next, then navigate to the License Agreement page and select “I accept the terms in the license agreement.”
- Click Next, go to the Ready to Install Program page, select Install, and hit Finish to end the process.
Setup QuickBooks Web Connector
Once the web connector is installed, you can manage QuickBooks integrated application preferences using the steps given in the heading below –
Add a 3rd Party Web App.
- Open QuickBooks, run it as an admin, then go to the File menu and select App Management.
- Click the Manage Web Apps option, select Setup beside the app you want to set up and log in to the app’s website.
- On the app’s website, select Connect to QuickBooks, reopen QBDT, and click Done on the Access Confirmation screen.
Manage a 3rd Party App.
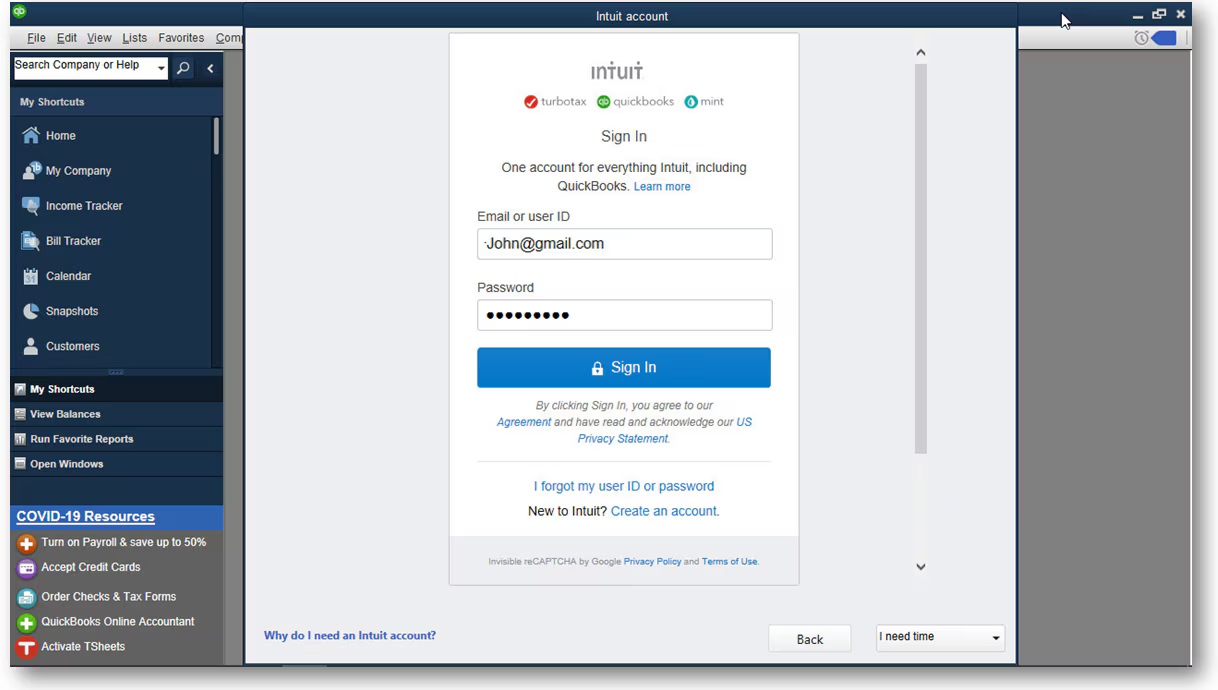
- Open QuickBooks as an admin, sign in to your Intuit account and go to the File tab.

- Select App Management, click Manage Web Apps, then select Connected Apps to view your apps and make the required changes.
Remove the App from QBWC and QB Preferences
Firstly, delete the 3rd party app from QuickBooks Web Connector by implementing the steps given below –
- Run QuickBooks, then sign in to the company file where the app is connected as an admin user and move to the File menu.
- Select the Manage Web Apps option, choose the app you want to remove from QBWC, and click the Remove button.
Once done, the next step is to delete the app from QuickBooks preferences using the detailed instructions mentioned below –
- In QuickBooks, open the Edit menu, then move to the Preferences tab and select Integrated Applications.
- Next, click Company Preferences, select the app you wish to remove, then click OK and reopen QB Web Connector.
- Finally, go to the Connected Apps section, check if the app you removed from QB is listed, and then click Remove to delete it.
Solutions to Resolve Common Issues with QuickBooks Integrated Applications
If you are facing problems while integrating applications in QuickBooks Desktop, you must follow the troubleshooting solutions mentioned in the section below –
Solution 1 – Run QuickBooks as an Admin
If you are not running QuickBooks with admin privileges, you won’t be able to integrate the applications or manage their preferences. Thus, you must right-click the QB Desktop icon and select the Run as Admin option before QB application integration.
However, if you are facing integration issues even as an admin, then follow the next solution to resolve it.
Solution 2 – Update QuickBooks Desktop and the POS Function
Compatibility issues while integrating other applications with QB can make the process unsuccessful. An outdated QB can also prevent users from managing their QuickBooks-integrated application preferences. Similarly, you must ensure the POS feature is recently updated, especially if you run a financial exchange. Thus, you must update QuickBooks Desktop to the latest version by downloading the updates and installing them on the PC. Once done, proceed by updating the POS features using the detailed steps below –
- Start by heading to the Help menu and then select the Check for Software Updates option.
- If you have an older release, you will notice updates available; allow QuickBooks Point-of-Sale to update.
- If an error arises, go to the Products Update page and update the function manually, followed by rerunning QuickBooks and POS.
Once done, you can allow third-party apps in QuickBooks by integrating them again. However, if you still can’t integrate the applications or manage their preferences, move to the next solution.
Solution 3 – Toggle the Integrated Application Preferences
Refreshing the QuickBooks integrated application preferences can help fix the integration issues. To do this, you first need to inactive the application’s permission and then allow it back in the following manner –
- Open QBDT, move to the Edit menu, then select Preferences and click the Integrated Application option.
- Move to the Company Preferences tab, choose your integrated application, and select the Properties option.
- Now, note the Login field in the tab for access rights, unmark the “enable this application to read and change this company file” option, and click OK to save the changes.
- Once the permissions are disabled, go back to the Preferences tab of the Edit menu and click Preferences again.
- Select Integrated Applications from Company Preferences, choose the application, and click Properties.
- Further, mark the “Allow this application to read and modify the company file” checkbox, click Yes, and go to the Login field.
- Finally, add the name that was used last time in the field and click OK when notified.
Now, check the QuickBooks integrated application preferences to ensure the process is successful. If the QuickBooks integrated application preferences are still not set, follow the next troubleshooting solution to fix the issue.
Solution 4 – Refresh the Link Between QBDT and the Integrated App
If the integration problems persist, you must refresh the connection between QuickBooks Desktop and the integrated app in the following manner –
- The integrated application is experiencing issues with open QBDT. Then go to the File option in the integrated app and click Preferences.
- Select Company, move to the Financial tab, and unmark the “use with QuickBooks Financial Software” checkbox.
- Save the changes, then select Edit in QBDT and select Preferences again.
- Click Company Preferences, select the integrated app, and click the Remove button.
- Now, click Yes on the Remove this application checkbox, hit OK, and reopen the integrated application.
- Move to the Financial section, click Financial Center, and select Setup QuickBooks Connection Now.
- Finally, follow the onscreen instructions provided by the wizard and complete the integration setup process.
Once done, reopen QB and the integrated app and run the operations to ensure the issue is fixed. If QB-integrated applications are still not running correctly, follow the steps in the next solution to address the issue.
Solution 5 – Repair the Integrated Application as an Admin
If you get an error message stating that the application has not accessed this company file data before, you can try fixing the integrated application as an admin in the following manner –
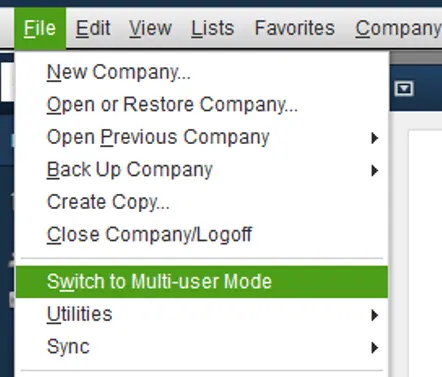
- Log in to QuickBooks Desktop as an Admin, press on the File option, and then click on the Switch to Single-user mode button.
Note: If you fail to see the option to Switch to Single-user mode and witness the option to Switch to Multi-user mode instead, then you are already running QBDT in single-user mode.
- Now, press the Edit menu, select Preferences, and choose Integrated Applications.
- Select the application you are struggling with, navigate to the Company Preferences tab, and click Remove.
- After the application is removed, open the particular screen of your third-party application and try to link to QuickBooks Desktop again.
- When you witness the QuickBooks Application Certificate screen, select Yes always to allow access even when QuickBooks is not in use, and move to the next screen.
- Finally, press on the Login drop-down menu, choose Admin and click Continue.
Once done, you will be able to fix the problems with the integrated application. However, if the application isn’t integrated properly or the preferences are incorrect, follow the next solution to address the issue.
Solution 6 – Recreate the QuickBooks User Account
If none of the above solutions help fix the connection between QuickBooks and the integrated app, your current user account might be damaged. To resolve this issue, you can try recreating the QuickBooks user account using the detailed steps below –
- Firstly, sign in to QuickBooks as an admin, then go to the Company section and select the Users option.
- Click Setup Users and Roles, select the User, then click Delete and include the user again.
- Finally, allocate the password and roles from the User List tab, click New, and try linking the integrated application.
Complete the process of relinking the integrated application to QB and try managing the preferences to ensure the issue is resolved.
Fix Specific Error Messages When Integrating Third-Party Apps with QuickBooks Desktop
If you experience some specific error messages while integrating the applications or managing their preferences, then use the solutions in this section to fix them –
Case 1: Error message stating, “This application has not accessed this QuickBooks company data file before.”
This particular error message is usually accompanied by the QuickBooks QBWC1039 error code. To fix this error, you can follow Solution 5 of the above section and repair the app.
If that doesn’t work, follow the detailed steps below to eliminate this QB error message –
- Log in to QuickBooks Desktop as an admin user, then run the app in a single-user mode and open Web Connector.
- Now, select Add an Application and choose the new QWC file to include it.
Case 2: Error message stating, “QuickBooks application with a revoked certificate.”
When you sync QuickBooks with Intuit or a 3rd party app, a digital certificate is required to ensure that the concerned app is safe and secure. When you receive a certificate revoked error, a Symantec Root Certificate is revoked, making other certificates invalid.
If you encounter this scenario while syncing QuickBooks to the 3rd party app with the Web Connector feature, then updating QuickBooks to the latest release can help.
On the other hand, if you sync with the third-party app without QuickBooks Web Connector, follow the steps below to fix the certificate revoked issue –
- Download this zip file, then move to the Downloads folder on your PC and extract the certSync.bat file.
- Right-click the file, choose the Run as Admin option, and let the .bat file run for a few minutes.
- Now, wait for the “CertUtil: -verifyCTL command completed successfully” message, exit the window, and rerun QB.
Once done, start using your 3rd party app with QuickBooks, but if the issue persists, contact the app developer for assistance on the integration process.
Through the detailed solutions given in this guide, we aim to help you resolve issues with QuickBooks integrated application preferences. But sometimes, these solutions might be ineffective, and the issue might be more complex or deep-rooted. In such a scenario, you can call our team of QB specialists at 1.855.738.2784 to get immediate assistance in fixing the app integration problems.
Common User Questions
What action should I take if the QuickBooks Web Connector app doesn’t allow for installation?
In case QuickBooks Web Connector installation is not possible or gets interrupted, then you ought to follow through with the following comprehensive installation procedures –
– On your keyboard, press the Windows + R keys to access the Run window, and select OK.
– Now, access the Control Panel from the Run window, select Uninstall a program, and click the Web Connector app.
– Click on Uninstall; however, if you are unable to find the QuickBooks Web Connector application in the Control Panel, then you need to remove the QBWebConnector folder from any of the below-mentioned locations –
C:\Program Files(x86)\Common Files\Intuit\QuickBooks\
C:\Program Files\Common Files\Intuit\QuickBooks\
– Once done, follow the installation process to install the QB Web Connector again and ensure the issues are fixed.
What are the application integration preferences pertaining to QuickBooks Time?
It is possible to edit the actual and default options while linking QuickBooks Time with the application and the QBDT version with the help of the preferences given below –
– In QB Time, you can select what timesheets display, such as sub-customers, customers, class, service items, location, and other elements.
– You can choose the exporting time to QuickBooks, including export approved time sheets while syncing, or stop exporting timesheets prior to this date.
– Additionally, you can change and manage your preferences about payroll items, email subscriptions, mapping tools, etc, in QuickBooks Time.
How can I connect a 3rd party app to the QuickBooks Online app?
You can go through the following steps to connect an app to your QBO application –
– To add an app, commence by logging in to the QuickBooks Online account, move the cursor to the left side of the account to locate the Apps, and then type the name of the software to be synchronized with QuickBooks Online.
– Select the App, click Get App Now, and authorize the app to connect to your QuickBooks Online account.
– Finally, follow the remaining steps to connect and set up the app settings that are recommended in QBO.

Edward Martin is a Technical Content Writer for our leading Accounting firm. He has over 10 years of experience in QuickBooks and Xero. He has also worked with Sage, FreshBooks, and many other software platforms. Edward’s passion for clarity, accuracy, and innovation is evident in his writing. He is well versed in how to simplify complex technical concepts and turn them into easy-to-understand content for our readers.


