Last Updated on October 3, 2025
Do you use the QuickBooks PDF converter to turn your financial reports and transactions into a PDF? It is a very useful tool, allowing you to share reports with others. They will not have to install QB Desktop to view these reports, as they can directly open the PDF. Sometimes, you may get stuck with the QuickBooks printer not activated error code 41.
As you can already guess, it happens when the QB PDF converter experiences an activation error. One of the primary causes of this is when QuickBooks uses an old version of the print driver activation code. If you want to know how to resolve this issue and use the activation code for the latest print driver, then read on!
Our specialists are just a call away to help resolve the printer not activated error code 41 in QuickBooks. Reach out at 1.855.738.2784, and our Accounting Helpline’s experts will guide you.

Exploring the Source of QuickBooks Printer Not Activated Error Code 41
There can be many reasons why you are facing this problem. A list of some common causes is given below.
- QuickBooks crashes or freezes when you use it.
- The Windows operating system is performing slowly.
- QuickBooks installation may be faulty on your device.
- Windows update leads to underlying errors.
- The QB application ends abruptly or fails to open.
- You may have too many applications open on the system.
- Third-party programs running in the background can interfere.
Now, we are well aware of why this issue might trouble you. Now, let’s discuss the best fixes for the QB printer not activated error code 41.
Top 7 Ways to Fix QuickBooks Printer Not Activated Error Code 41
With the help of these procedures, you can get rid of the QuickBooks 2010 printer not activated error code 41. Follow along this guide and get your QB PDF Converter back on track.
Method 1: Utilize the QuickBooks Print and PDF Repair Tool
By utilizing this tool, you can rectify many common errors that hinder your printing and PDF-related work. Let’s move with the outlined process to kick off the QB print and PDF repair tool.
- Exit the current QB Desktop window.
- Close all the ongoing processes for QB.
- Download and install the QuickBooks Tool Hub.

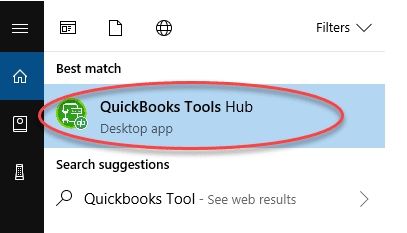
- Launch the QB Tool Hub through the Start menu.
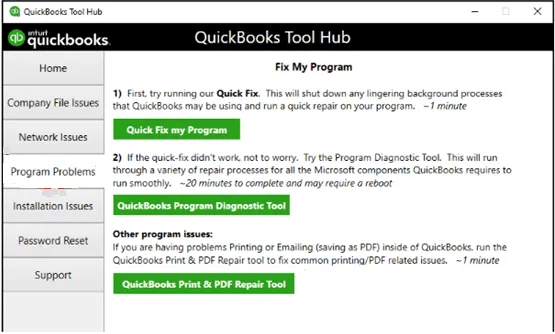
- Find your way to the Program Problems window.
- Move your cursor over the QuickBooks PDF and Print Repair Tool button.

- Let the tool run and complete its process.
- Once done, exit the program.
Now, go ahead and check whether the printer not activated error code 41 in QuickBooks 2008 still occurs. If it does, then follow along with the next solution.
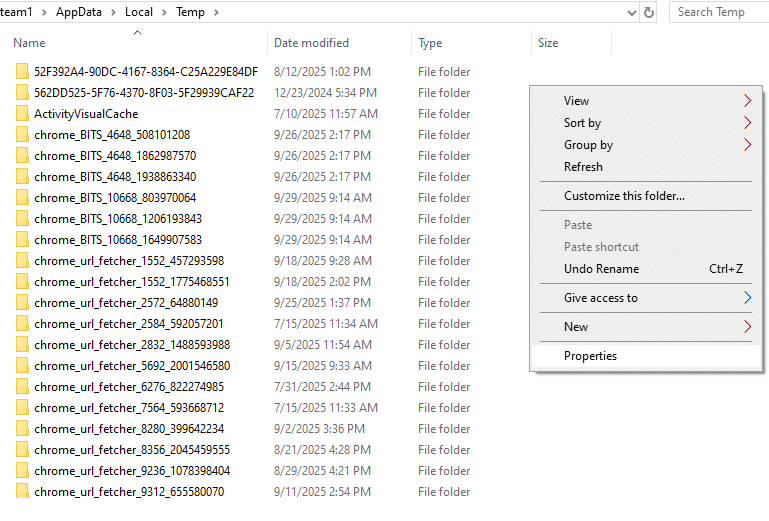
Method 2: Reset Permissions for Temp Folder
When the permissions for the Temp folder are not set correctly, you can encounter these errors. We will guide you through the procedure to reset permissions and avoid the QuickBooks printer not activated error code 41.
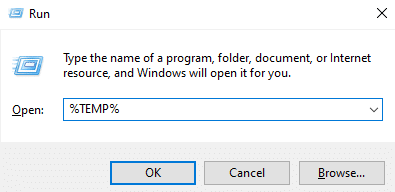
- Press Windows + R keys.
- Click on the Run command box.
- Enter ‘%TEMP%’ and hit OK.

- Windows File Explorer will open.
- You will see the Temp folders.
- Right-click anywhere on the folder.
- Head to Properties from the menu.

- Tap on Security in the top bar.

- Check the permissions for Group or user names.
- Full Control should have a tick under Allow.
- Hit Ok to save the changes.

After doing the above steps, check for the QuickBooks printer not activated error code 41. In case the issue persists, you can move to the following method.
Method 3: Print Test using the XPS Document
The QuickBooks Enterprise uses the XPS Document Writer to save PDFs. It is a Microsoft Windows product, so it can work independently without QB. Take the steps below to check if the XPS document can print.
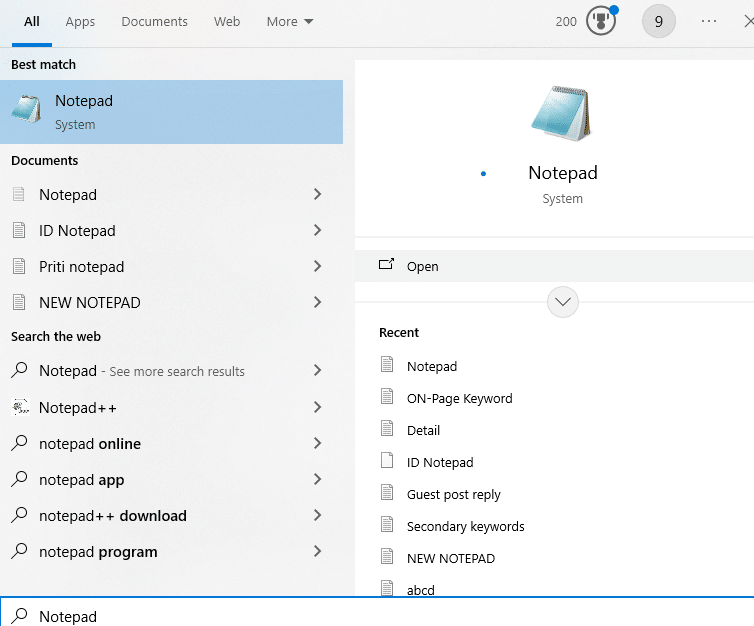
- Hit the Windows key.
- Search for and open Notepad.

- Type ‘Test’ in the document.
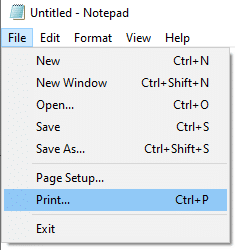
- Expand the File menu.

- Press the ‘Print…’ button.
- Or, hit Ctrl + P keys.
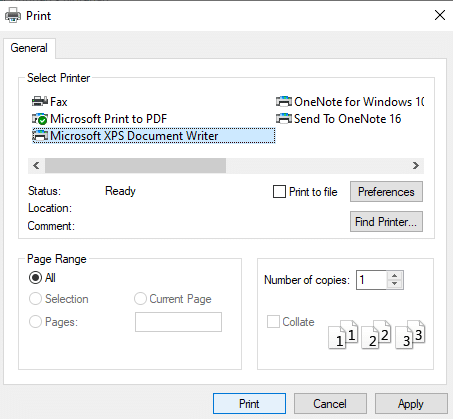
- The Print window will launch.
- Tick XPS Document Writer under Select Printer.

- Tap on Print.
- Enter a name to save the file.
- Open the File Explorer.
- Check the XPS document saved from Notepad.
In case the XPS Document Writer is not listed under the Select Printer section, then skip to the steps below.
Enable the XPS printer in your Computer
You can perform the following steps to allow your computer to print to the XPS printer.
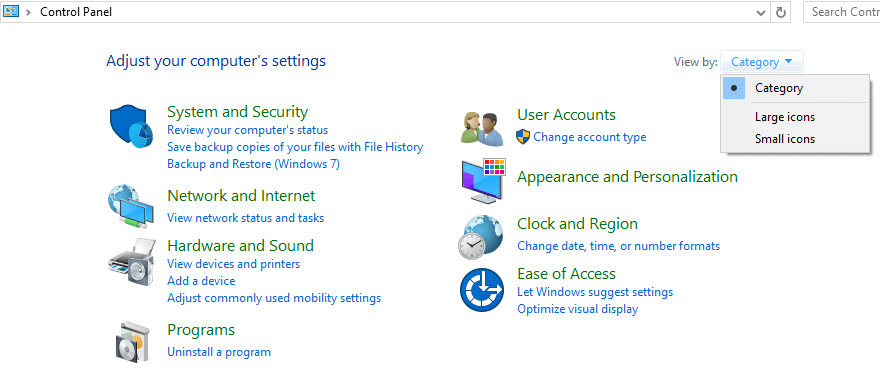
- Open the Windows Start menu.
- Type ‘Control Panel’ and open it.
- Make sure that View by is set to Category.

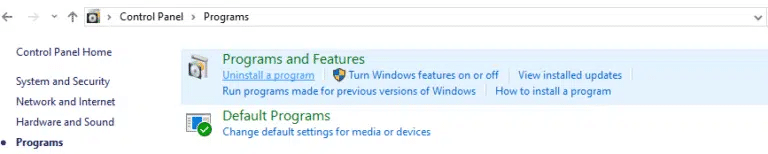
- Click on Programs.
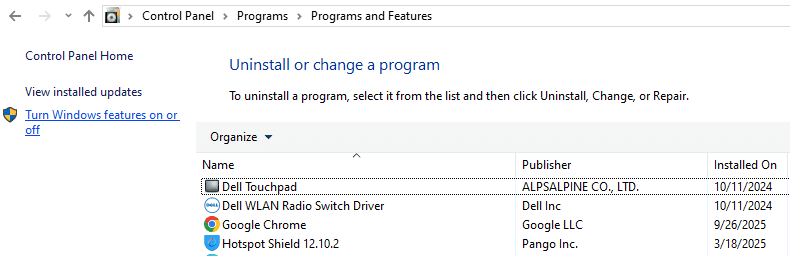
- Then, choose Programs and Features.

- Select Turn Windows features on or off from the left panel.

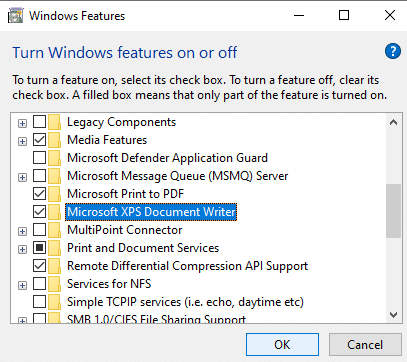
- There, you will see the list of services.
- Tick the Microsoft XPS Document Writer.

- Once done, press OK.
Once you complete this process, you can now redo the steps above to print a test in the XPS document. If you still get the QuickBooks printer not activated error code 41, then read this guide.
Method 4: Create a New Template
There may be some issues with your old templates and forms. You can create new templates and forms for your work. Make sure to change the template for your transaction and reports.
Once you complete this process, you can try to create a new .pdf. If you keep running into the QuickBooks printer not activated error code 41, then read the method below.
Method 5: Modify the Properties for Print Spooler Service
If the Print Spooler service is not working properly, then it can lead to PDF-related issues in QB Desktop. Take the steps outlined below for updating the properties for the Print Spooler service and restarting it.
- Tap on the Windows icon.
- Enter ‘Services’ in the search bar.
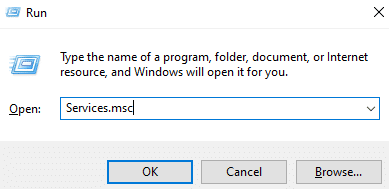
- Alternatively, hit Windows + R.
- Type ‘Services.msc’ and press OK.

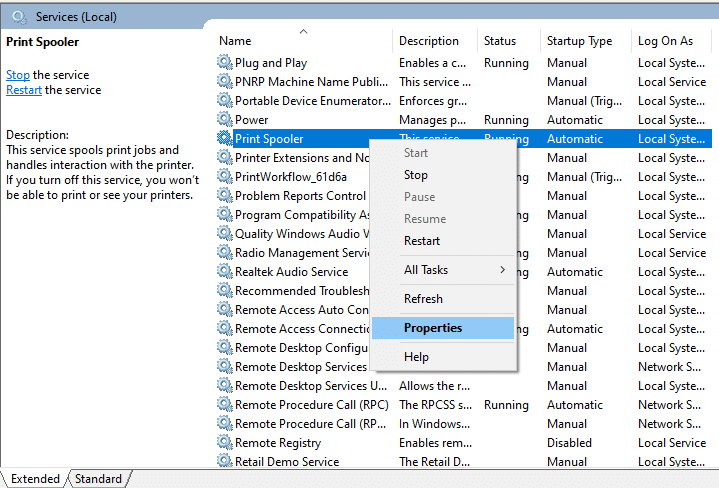
- The list of Services will appear.
- Locate the ‘Print Spooler’ service.
- Right-click on it and select Properties.
- Tap on the General tab.
- Set Startup type to Automatic.

- Once done, hit OK.
- Right-click the Print Spooler service.
- Then, tap Start.

Now, head back to QB Desktop and continue your work. If the QuickBooks printer not activated error code 41 is still a hindrance, then proceed to the upcoming method.
Method 6: What to do When the Reconcile Window Keeps Disappearing or Doesn’t Show Up?
There have been instances where QuickBooks seems to be locked up. This usually happens when you choose Reconcile from the Banking menu. PDF functions will work normally, albeit without the reconcile window showing up.
- Check all the active windows.
- Find the Reconcile window.
- Click on Close all.
- Reopen the Reconcile window.
Now, you should not face any errors while reconciling accounts. But if you get the QuickBooks printer not activated error code 41, then you can resort to the following method.
Method 7: Check, Reinstall, and Modify Permissions for XPS Document Writer
Let’s try to test the XPS Document and see whether it can print or not. After that, we can reinstall it and set up the permissions as needed. Please note that the steps below are for Windows and not Terminal Services. To prevent the QuickBooks PDF Converter printer not activated error code 41, take the steps in the given order.
- Ensure that the XPS services are active.
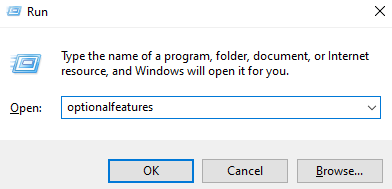
- Press the Windows and R keys.
- Type ‘optionalfeatures’ and tap OK.

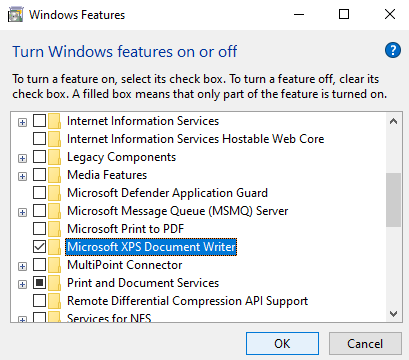
- Locate the ‘Microsoft XPS Document Writer’.

- Tick the checkbox to activate it.
- Once done, tap OK.
- Now, test the XPS Document Writer.
- Print anything outside QuickBooks Enterprise.
- Update the security software settings.
- Norton Antivirus or McAfee Firewall can block .xps files.
- Review settings for this security software.
- Make sure .xps files are not blocked.
- Update the Windows user permissions.
- Sufficient permissions are needed to print.
- XPS Document Writer can not print without access.
- Sign in as a Windows admin.
- Update the permissions and access.
Once you are done, the QuickBooks PDF converter will be able to convert the files into PDFs. As it now has the required permissions to do so. Your QB printer not activated error code 41 should not occur any longer.
A Quickview Table for QuickBooks Printer Not Activated Error Code 41
Tabulated below is a summary of the entire blog regarding the QuickBooks 2010 printer not activated error code 41. You can get a quick glimpse of everything we have discussed so far.
| Error message | QuickBooks Printer Not Activated Error Code 41 |
| Its causes | Windows is running slowly, you have a faulty QuickBooks installation, a Windows update has caused underlying errors, QuickBooks is crashing or ending abruptly, too many programs are open, and there may be third-party programs running in the background. |
| Troubleshooting methods | Use the QuickBooks Print & PDF Repair Tool, reset the permissions for the Temp folder, activate the XPS printer, and run a test print using the XPS Document, make a new template or a form in QB, update the properties for Print Spooler service, re-open the reconcile window when it disappears, test, reinstall, and update the permissions for XPS Document Writer. |
| Tools used | QuickBooks Tool Hub, QuickBooks Print & PDF Repair Tool. |
What You Should Remember
You may find yourself stuck with the QuickBooks printer not activated error code 41. It occurs when the QB PDF converter fails to activate due to the code of an old version. As discussed above, many reasons can lead to this issue. We have also provided you with some of the best resolutions to fix this problem. Although it is simple to perform these methods, there can be some technical complexity as well. Therefore, you can connect with our specialists and get support. You may reach out at 1.855.738.2784 to get guidance from our Accounting Helpline’s experts to resolve the printer not activated error code 41 in QuickBooks 2008.
Frequently Asked Questions (FAQs)
How to Resolve the QuickBooks Printer Not Activated Error Code 41?
There are various methods to get rid of any printer and PDF-related issues in QuickBooks Desktop. In order to resolve the printer not activated error code 41 in QB, you can resort to any of the following methods. Firstly, you can launch the QuickBooks Print & PDF Repair Tool from QB Tool Hub, or update the permissions for the Temp folder in the File Explorer. These are some basic solutions that can easily fix the issue you are facing. If these do not work, then you may need to test the XPS document writer or restart the Print Spooler service manually in Windows.
What is error code 41 on the QuickBooks printer not activated?
This is an activation error that occurs when QuickBooks uses the print driver activation code from an old version. You can resolve this issue by using the activation code for the latest print driver. Apart from that, there are a few more factors that can lead to the QuickBooks printer not activated error code 41. But this is not something to worry about, because we have provided you with a list of resolutions to get rid of this issue. You can carry out these methods effortlessly and get QuickBooks back on track to focus on your business.
Why am I getting the QuickBooks printer not activated error code 41?
The primary reason for the printer not activated error code 41 in QuickBooks to occur is when the print driver activation code of an old version is used. Make sure that you are using the activation code for the latest print driver to avoid triggering this issue. But other factors can also lead to this error, such as the following reasons. When the Windows operating system is running slowly, or the QuickBooks installation is damaged or corrupted, interference from third-party programs running in the background can occur. You can easily troubleshoot these problems with our guide, as the solutions are easy to carry out.
Related Posts-
A Comprehensive Guide to Troubleshoot QuickBooks Error 12009
QuickBooks Error QBW32.EXE – DIY Troubleshooting Guide
Expert-Approved Resolution Guide to QuickBooks Unrecoverable Error Codes
QuickBooks Desktop has reached the Expiration Date – Fix instantly!
QuickBooks Cannot Communicate with the Company File [SOLVED]
QuickBooks Error H202 in Multi-User & Solutions to Fix it

Edward Martin is a Technical Content Writer for our leading Accounting firm. He has over 10 years of experience in QuickBooks and Xero. He has also worked with Sage, FreshBooks, and many other software platforms. Edward’s passion for clarity, accuracy, and innovation is evident in his writing. He is well versed in how to simplify complex technical concepts and turn them into easy-to-understand content for our readers.