Last Updated on March 10, 2025
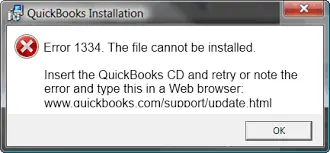
Are you unable to update, install, or repair the QB Desktop due to QuickBooks error 1334? It is pretty common to experience errors while updating, repairing, installing, or launching the QuickBooks Desktop application on Windows operating systems. However, the software is quite simple to install and repair, but a missing or damaged QuickBooks Desktop installation file or a damaged .NET Framework causes the software to encounter errors. One such error is error 1334, which gives the error message “Error 1334. Error writing to file. Verify that you have access to that directory.” or “Error 1334. The file cannot be installed. Insert the QuickBooks CD and retry.” to the user. Further, in this article, we have discussed the reasons that cause error 1334 along with the complete troubleshooting method.
Need Help Resolving Error 1334? Call 1.855.738.2784 to Get in Touch with the Accounting Helpline Team Now
What Triggers QuickBooks Installation Error 1334?
- Damaged or corrupt Microsoft .NET Framework.
- Missing or damaged QuickBooks Desktop installation file.
- Windows is infected with a malicious virus.
- Unfinished installation of QuickBooks Desktop application.
- Incorrect QuickBooks Company file extension.
How to Deal with Error Message 1334 in QuickBooks?
NOTE: Download a new QuickBooks Desktop installation file and run it for the installation, as performing a fresh installation will remove any error caused by the corrupt setup file.
Troubleshooting Solution 1: Remove and then install QuickBooks Desktop again
Step 1: Remove QB Desktop
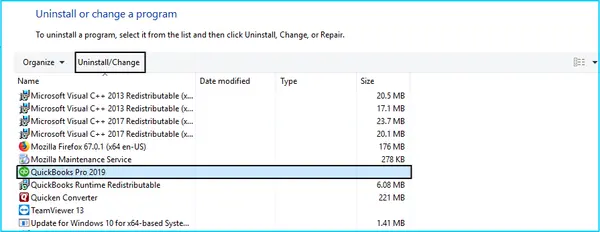
- Click on the Windows Start menu, search for Control Panel, and then open it.
- Choose Programs and Features or Uninstall a Program.
- A list of programs will appear on the screen. Choose the version of QuickBooks you want to uninstall.
- Choose Uninstall/Change, Remove, and then Next.
In case you don’t see these options, you should first sign out and then sign back in as an administrator.
Step 2: Reinstall QuickBooks Desktop
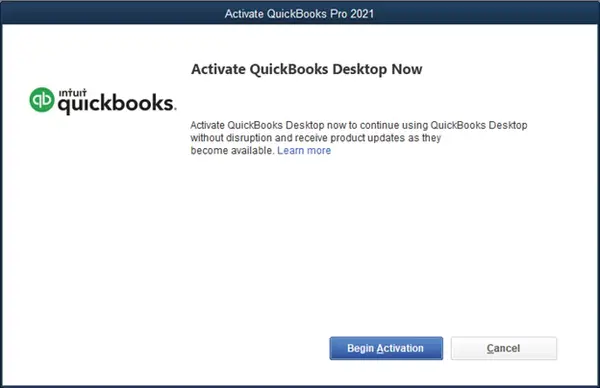
Before you install the QB Desktop on the system, you first need to download the version of QB Desktop. Secondly, save that downloaded file to an easily accessible location. Thirdly, be prepared with the product and license number. Finally, let’s learn how to install the QB desktop.
- Launch the QuickBooks.exe file.
- A set of instructions will appear on the screen. Follow them carefully, accept the software license agreement, and finally hit the NEXT option.
- Now, enter the product and license number and hit the NEXT option.
- Select Express, then select Next, and finally choose Install.
- Select Open QuickBooks when the installation finishes.
Troubleshooting Step 2: Run Quick Fix My Program from the QuickBooks Tool Hub
In order to run the Quick Fix My Program, you need to have the QuickBooks Tool Hub. Therefore, consider installing the Tool Hub first. Let’s assume you have already installed the Tool Hub on your system. Now, let’s learn how to run the Quick Fix My Program to fix QuickBooks error 1334.
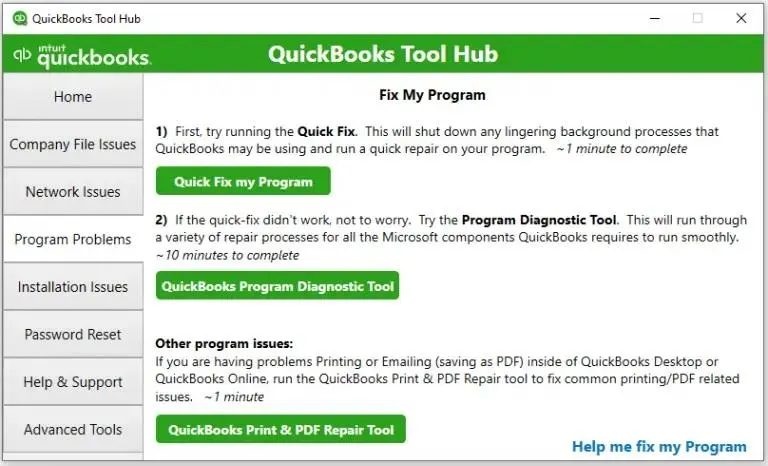
- Open the QuickBooks Tool Hub and select Program Problems.
- Now, choose Quick Fix My Program.
- Launch QuickBooks Desktop and then open the data file.
Troubleshooting Step 3: Run the QuickBooks Install Diagnostic Tool
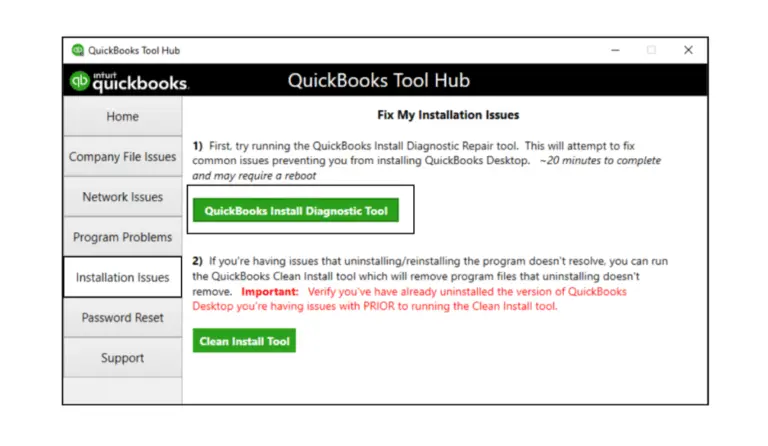
- Open the QuickBooks Tool Hub and then choose Installation Issues.
- Now, choose QuickBooks Install Diagnostic Tool to let the tool run. However, it may go on take up to 20 minutes.
- Further, consider restarting your computer and starting QuickBooks Desktop, then open the data file.
- Lastly, update the QuickBooks to the latest release.
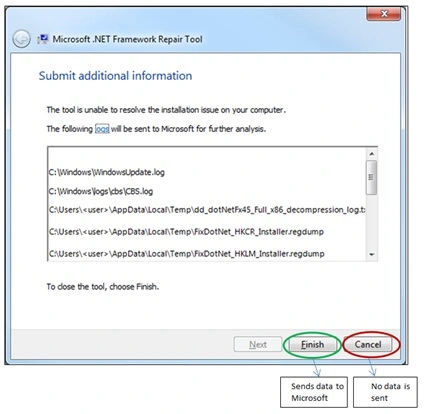
Troubleshooting Step 4: Manually Fix the Microsoft .NET framework
- Close all open programs on the system.
- Click on the Windows Start menu.
- Enter “Control Panel” into the search and then open Control Panel.
- Move to the Programs and Features option and then choose Uninstall a Program.
- Select the Turn Windows features on or off and then find .NET Framework on the list.
Quick Summary
Certainly, following all the troubleshooting steps in the given order will get you rid of QuickBooks error 1334, but for any unknown reason, if you are still struggling with the error, we are always ready to help. Simply dial Number 1.855.738.2784, and one of our Accounting Helpline expert technicians will resolve the error in the shortest time possible.
FAQs
What is QuickBooks Error 1334?
While downloading the QuickBooks setup file, if the download process gets interrupted or the .NET framework required to install, update, and repair QuickBooks Desktop gets corrupt, you will likely encounter QuickBooks error 1334. However, the error has different solutions depending on the action that triggers it. In the next section of this article, you will find the causes of the error so that you can identify the actual reason why you are getting error 1334 while installing, updating, or repairing QuickBooks Desktop.
What are the common reasons that trigger QuickBooks error 1334 in QuickBooks?
Damaged or corrupt Windows component files or missing QuickBooks Desktop installation files are the primary reasons that trigger QuickBooks repair error 1334. Below, we have listed all the reasons that might cause update error 1334 in the QuickBooks Desktop application on Windows, along with the screenshot of the error that reads “Error 1334 the file cannot be installed. Insert the QuickBooks cd and retry or note the error and type this in a web browser”.
What sort of issue can I face if I have a damaged Microsoft .NET framework?
You will experience QuickBooks error 1334 while installing the QB desktop on the system.

Edward Martin is a Technical Content Writer for our leading Accounting firm. He has over 10 years of experience in QuickBooks and Xero. He has also worked with Sage, FreshBooks, and many other software platforms. Edward’s passion for clarity, accuracy, and innovation is evident in his writing. He is well versed in how to simplify complex technical concepts and turn them into easy-to-understand content for our readers.

